
#Connect a REST API with an HTTP adapter
An HTTP adapter holds the base path of a REST API, the security settings and default headers, and its actions — one per endpoint, imported from an OpenAPI file or created by hand; host and login come from the environment.
#How a request is put together
flowchart LR
  E["Environment<br/>https://erp.example.com"] --> U["https://erp.example.com/api/v2/customers/42"]
  A["Adapter · base path<br/>/api/v2"] --> U
  X["Action · path<br/>/customers/{id}"] --> U
  C["Credential of the environment,<br/>or of the element"] --> H["Authorization header"]
  D["Adapter · default headers"] --> H2["Headers"]
#Create an HTTP adapter
- Open the system and click Add adapter. Choose HTTP / REST under Own adapters — or a ready-made template under Registry adapters.
- Give it an Adapter name, and a Base path such as
/api/v2— the path only. The host is set per environment. See Environments and credentials. - Optionally Import OpenAPI: Datei hochladen uploads a JSON or YAML file, Abrufen fetches it from a URL. Every endpoint of the file becomes an action, with its parameters and its request and response bodies. OpenAPI 3 and Swagger 2 are read, up to 10 MB and 2,000 paths.
- Click Create adapter.
⚠️ The import takes only the path of the file's server address. Its host is dropped, and no environment is created for it — add one yourself.
⚠️ The buttons Abrufen and Datei hochladen are German whatever the language of the screen.
⚠️ Importing is only possible here, while creating the adapter. Actions added later are created by hand, on the Actions tab.
⚠️ A registry template brings its actions and base path, but not its security settings, headers, timeout, transformations or login — see Import an adapter from the Registry.
#Configure it
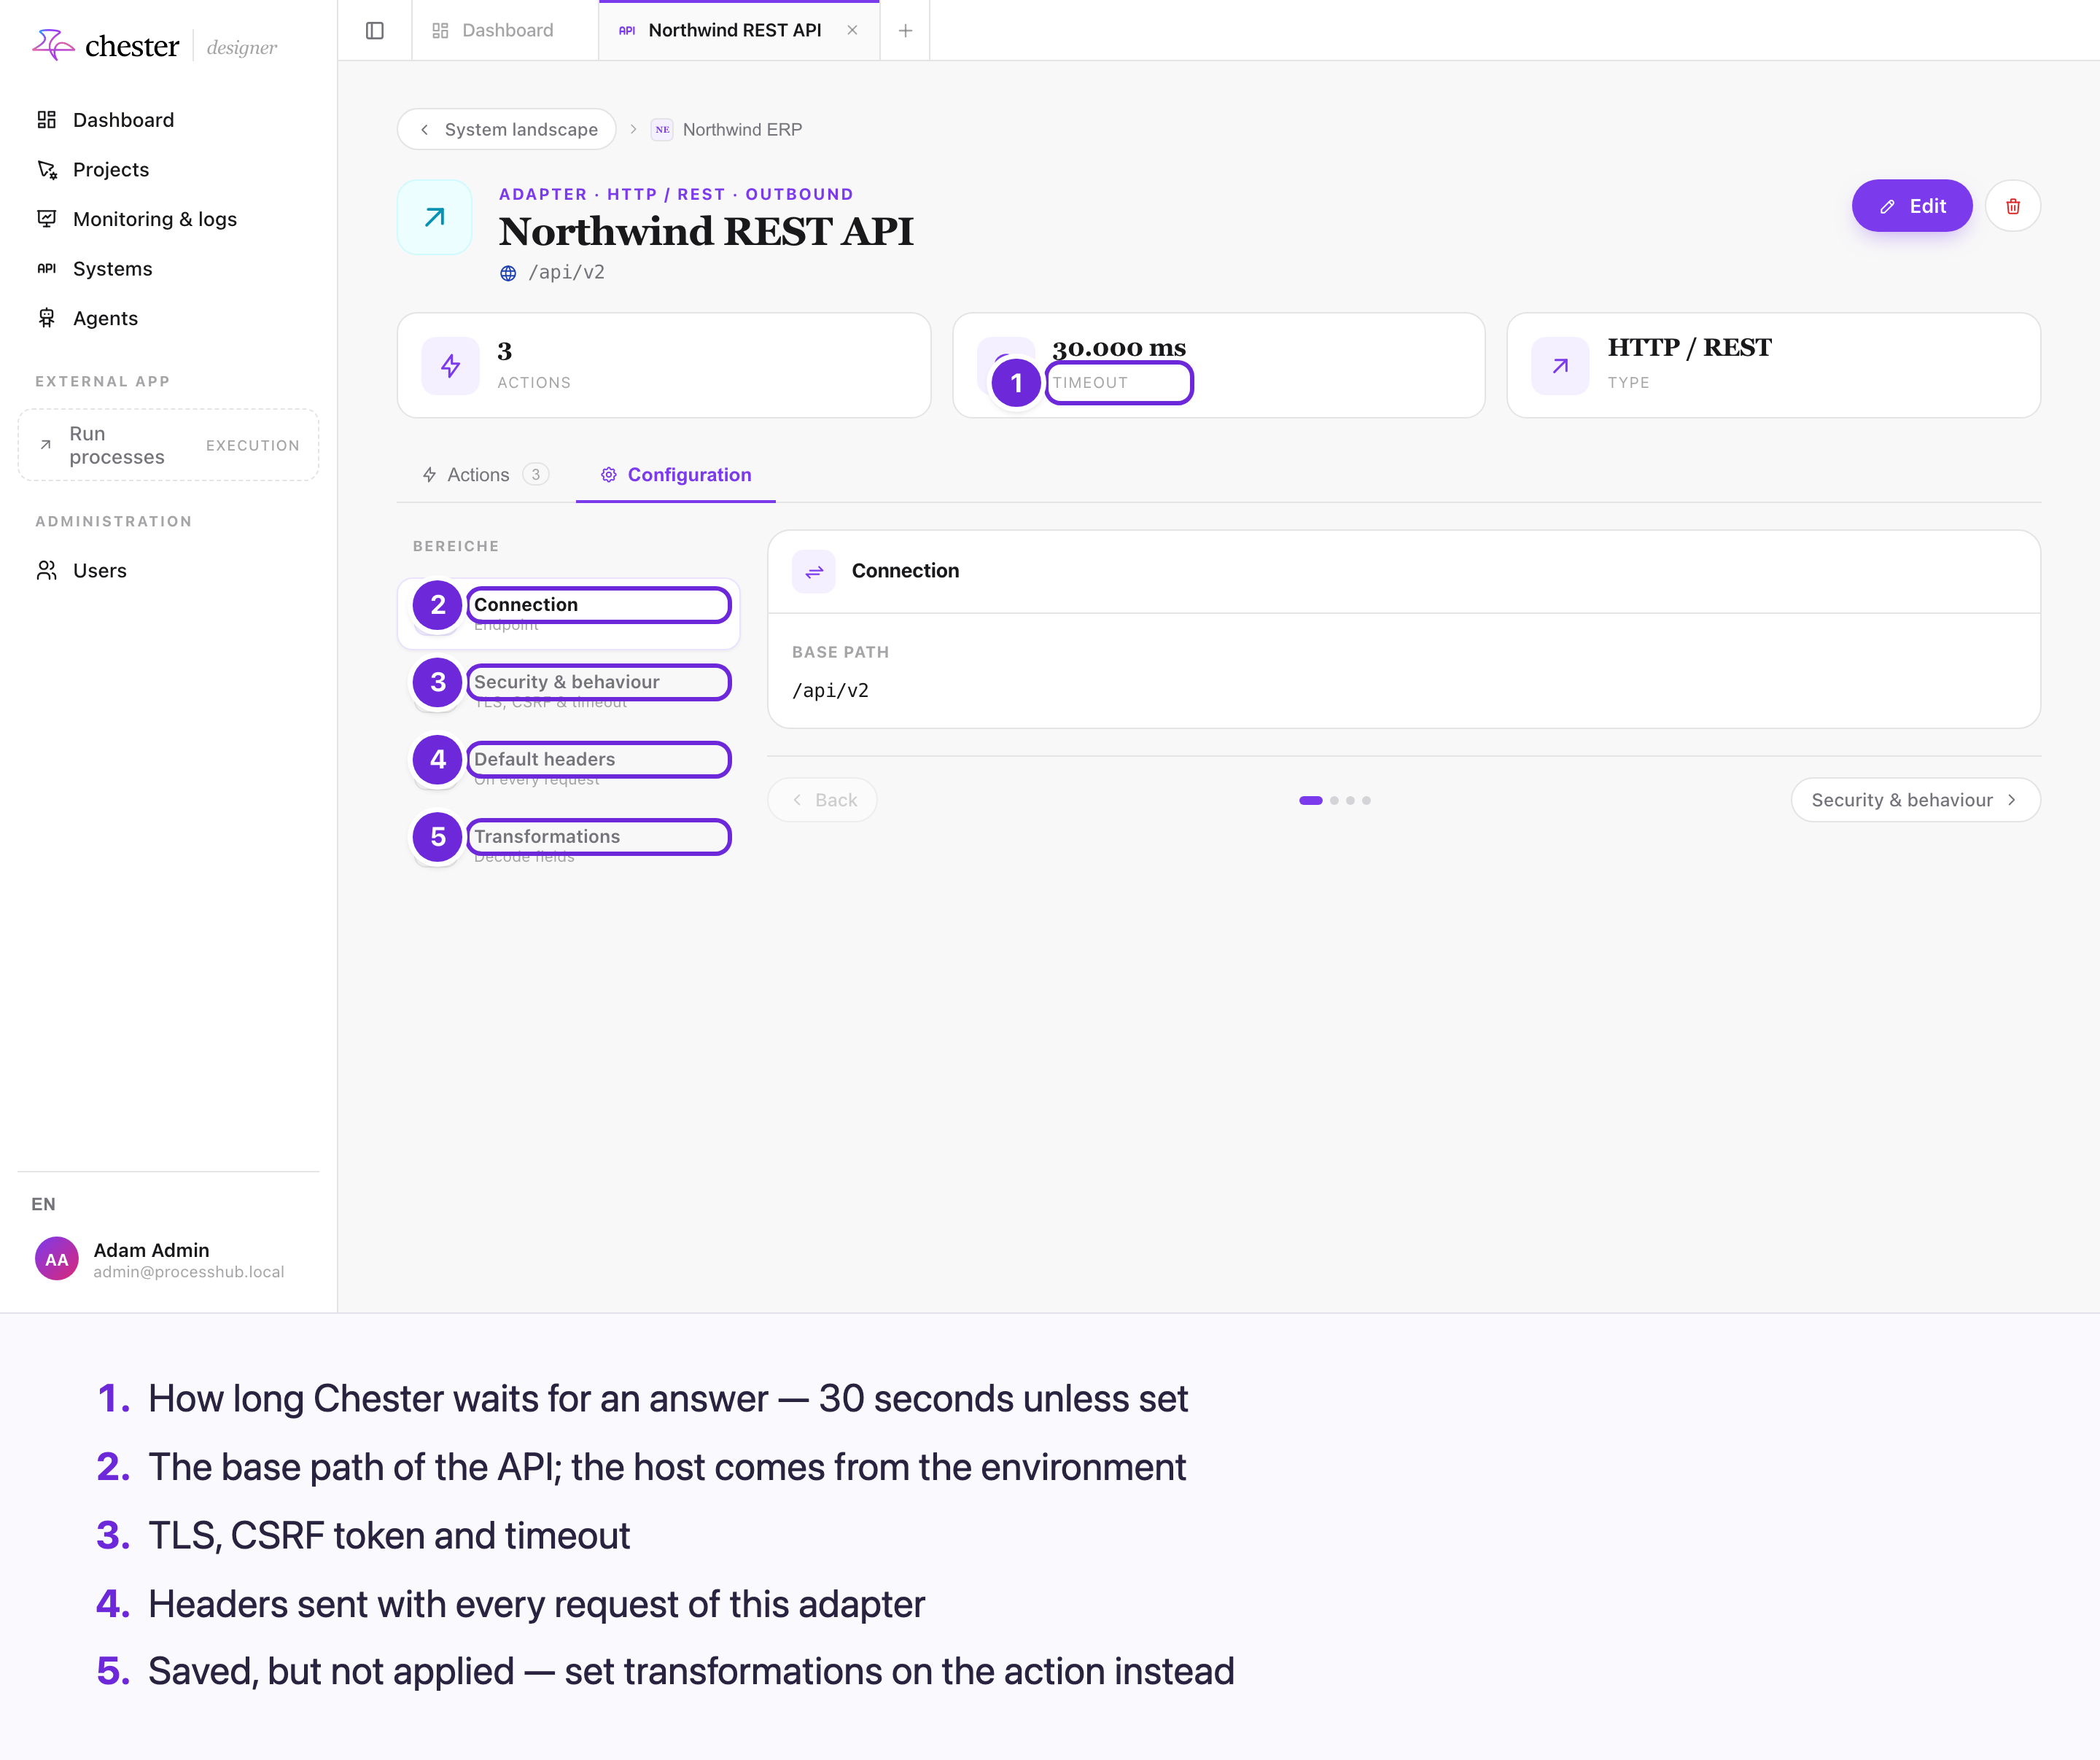
Click Edit on the adapter and open Configuration:
| Section | Setting | What it does |
|---|---|---|
| Connection | Base path | Put between the environment's host and the action's path |
| Security & behaviour | CSRF-Token | Before every writing call — POST, PUT, PATCH, DELETE — fetch a CSRF token and send it along |
| Allow self-signed TLS | Accept a certificate that cannot be verified. Only for test systems | |
| Timeout (ms, min. 10,000) | How long Chester waits for the call; 30 seconds unless set | |
| Default headers | Name and value | Sent with every request of this adapter |
| Transformations | — | ⚠️ Saved, but not applied. Set transformations on the action instead |
Retries, streaming and transformations are set per action — see Call a system with a service task.
⚠️ The timeout is how long Chester waits, not a limit for the call itself: a call that answers later may still have done its work when the retry runs.
⚠️ Default headers are shown in plain text. Don't put a token there — use a credential.
#How it logs in
An HTTP adapter has no login of its own. The credential comes from the step's Credentials override, else from its environment:
| Credential | Sent as |
|---|---|
| API Key | Header X-API-Key |
| Bearer Token | Authorization: Bearer … |
| Basic Auth | Authorization: Basic … |
| OAuth2 | Authorization: Bearer … with a token Chester fetches and renews |
⚠️ The Header name of an API-key credential is not used — the key is always sent as
X-API-Key.
#What it cannot do
- ❌ Test connection — there is none for HTTP adapters.
- ❌ Client certificates (mTLS).
- ❌ Rate limits: Chester does not slow down on
429 Too Many Requests; such an answer is retried like any other failure. - ❌ A proxy for outgoing calls. Calls leave from Chester's workers; allow their address in your firewall.